
Repairing Minor Wall Damage

You just bought a brand new house and it’s move in day. You go to take your bed upstairs to your new room and in all the excitement didn’t stop to think if it would actually fit up the stairs. BAM! Now it looks like a giant bite was taken out of your new stairway. What do you do? The first answer is call Stamp Paints and not only will we fix the damage, but we will also paint it and make it good as new! If you are more of a DIYer, the steps below will help you fix the minor damage.

Step One
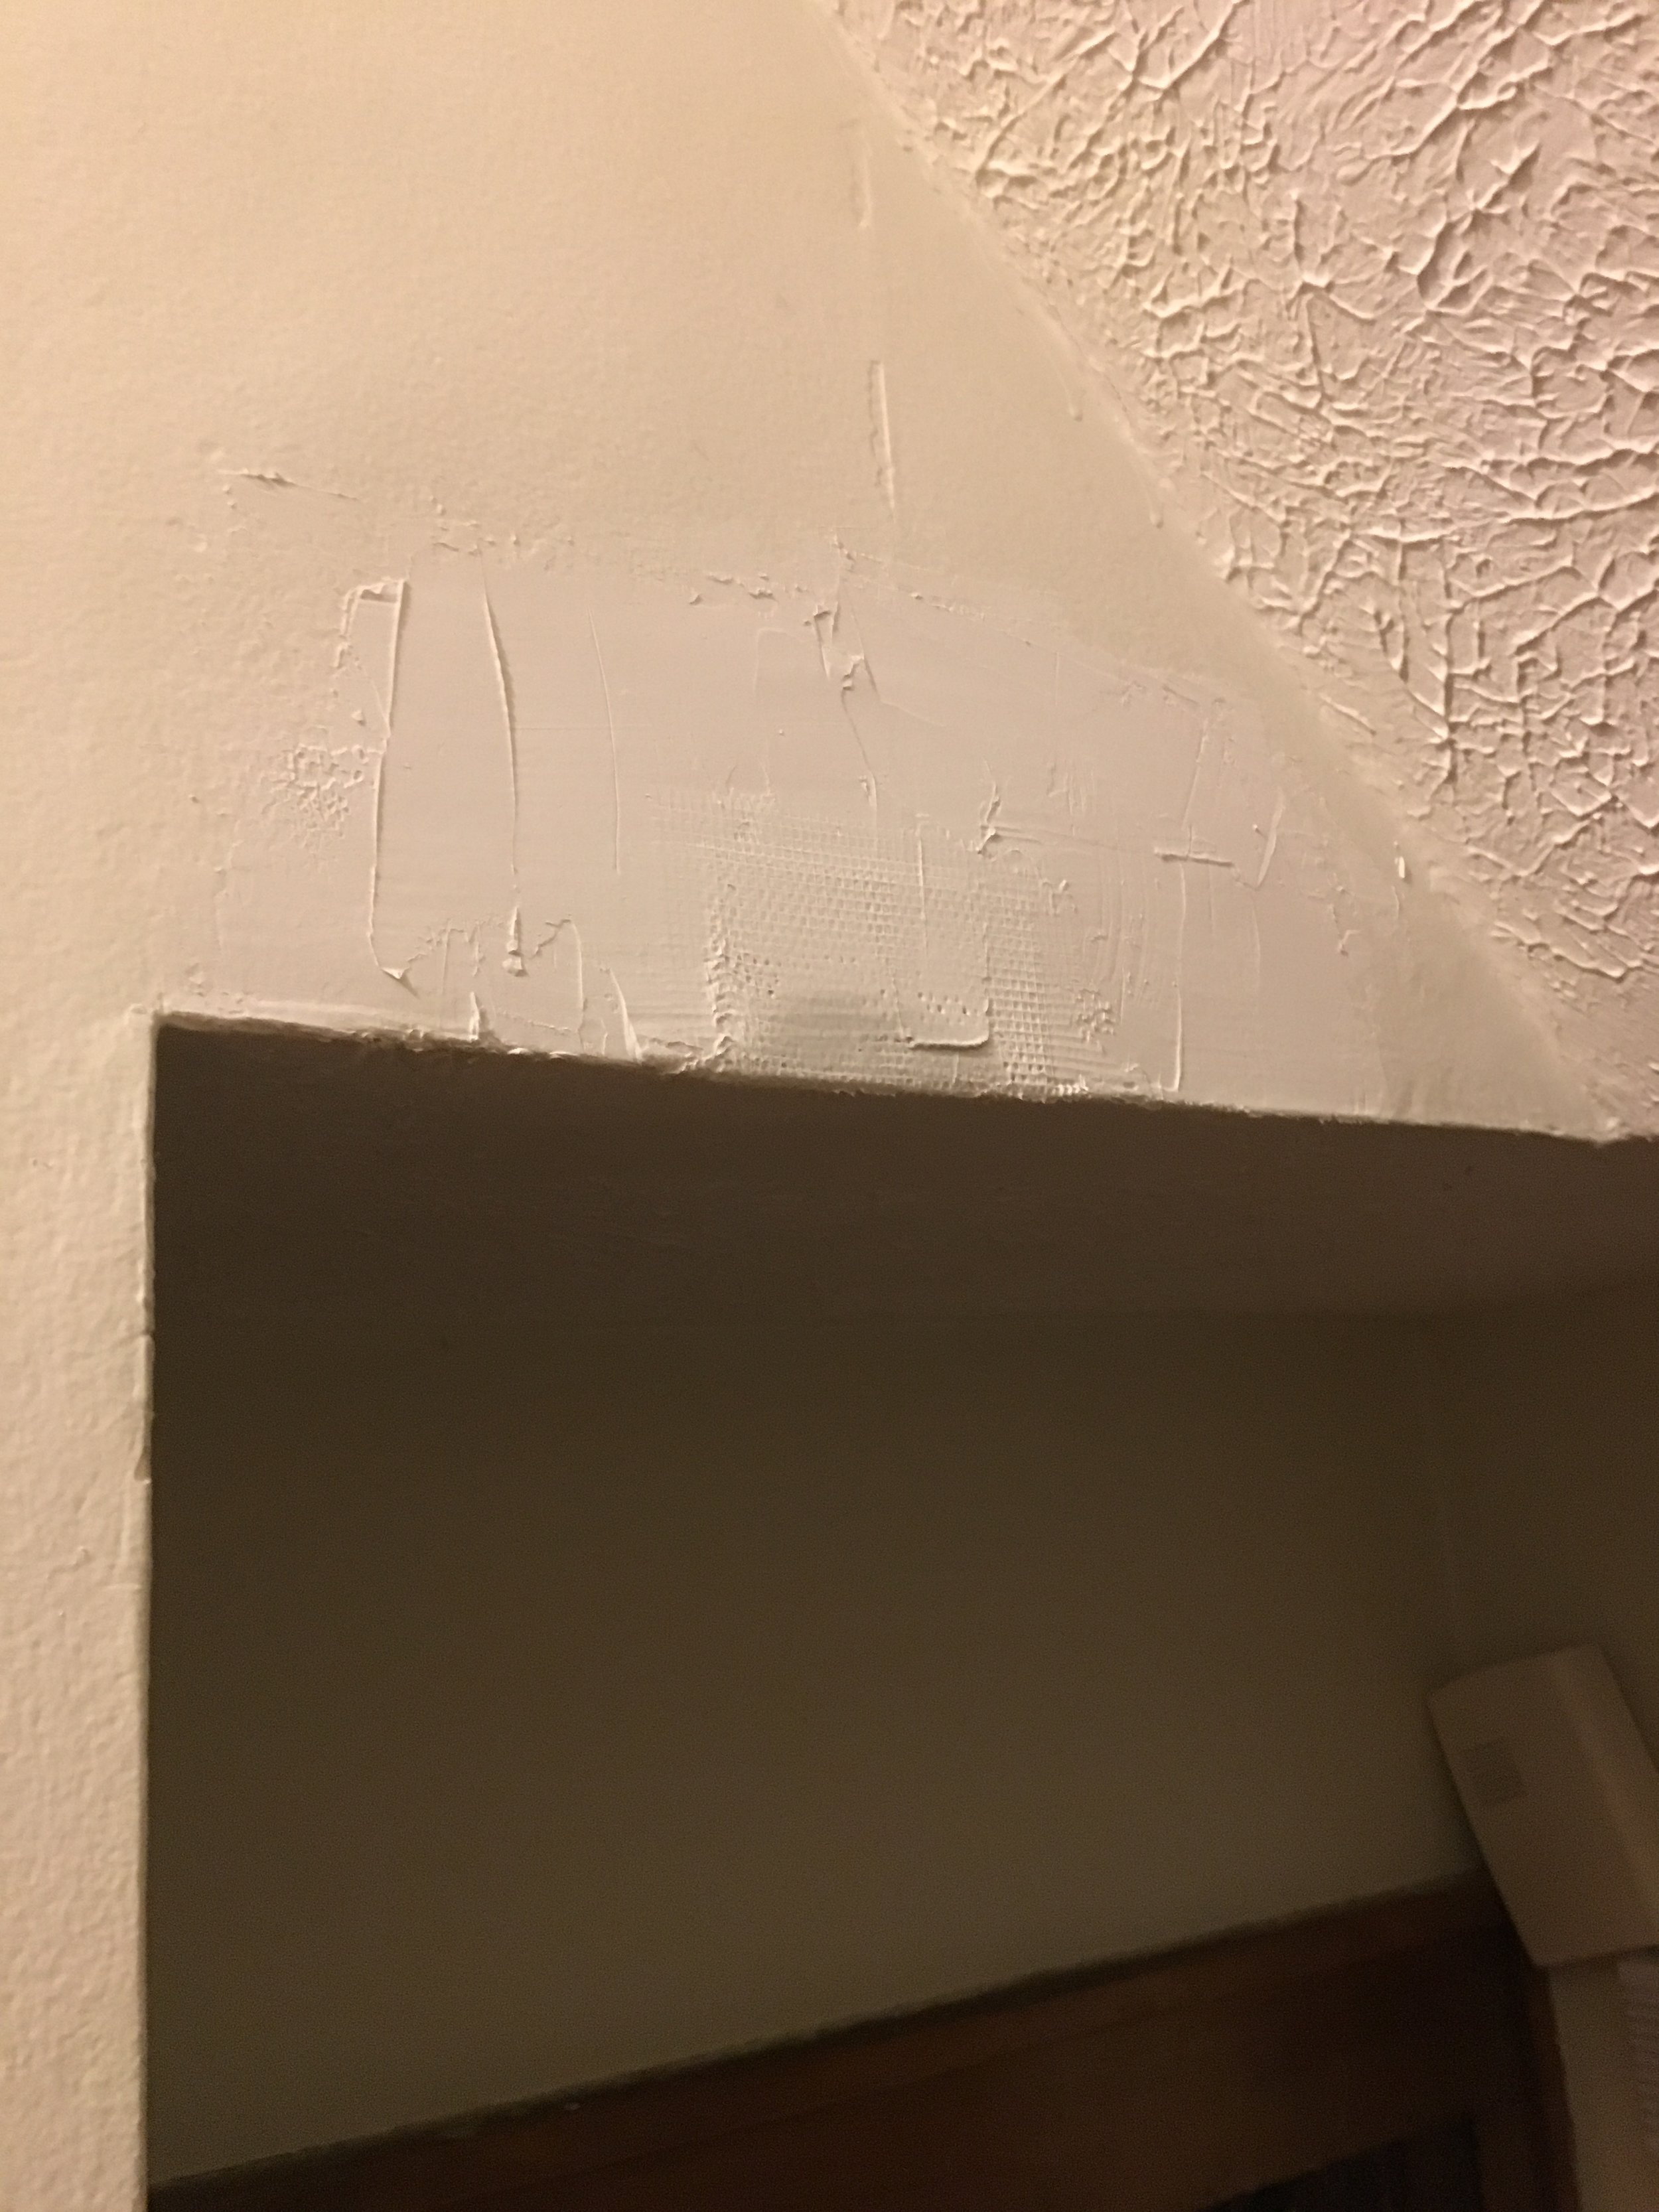
Put drop cloths over your flooring and gather all of your supplies. We suggest using either an all purpose joint compound like this one by USG or a light weight spackle like Fast N’Final by Dap. On this project we primarily used the all purpose joint compound and used fans and practiced patience while waiting for the compound to dry between coats. We also found the six inch putty knife to be just the right size. The red tray seen here was used to hold the amount of spackle needed for the job. This gives you a straight edge to clean the putty knife as needed and it keeps your entire bucket of spackle from drying out while you work.
Step Two
If the hole is large enough, you will want to also use a mesh drywall patch like the one seen here. We bought a larger patch that we cut down to just larger than the size of the hole. You will want an inch or two of overlap from the hole to the patch. To get the patch to stick to the wall, you simply put a light coat of spackle around the hole and then put the backside of the patch to the hole. The backside of the patch will have a sticky side so it will be easy to discern which side is which. Once the patch is in place, put another coat of spackle over top of it. Watch the video below to see how Stamp applies spackle.

Step Three
Once the first layer of spackle dries, you will alternate sanding the area down and applying another layer of spackle until you are satisfied with the look and feel of the wall. You will want it to be smooth to the touch. Watch the video below to see Stamp’s sanding in action. Don’t forget to wear your ear plugs or headphones when sanding! We also suggest protective eye gear and/or a respirator, especially if you are sanding an area that could contain lead paint. We use a dustless sanding system that is a Dewalt sander attached to a Fein dust extractor.
Step Four
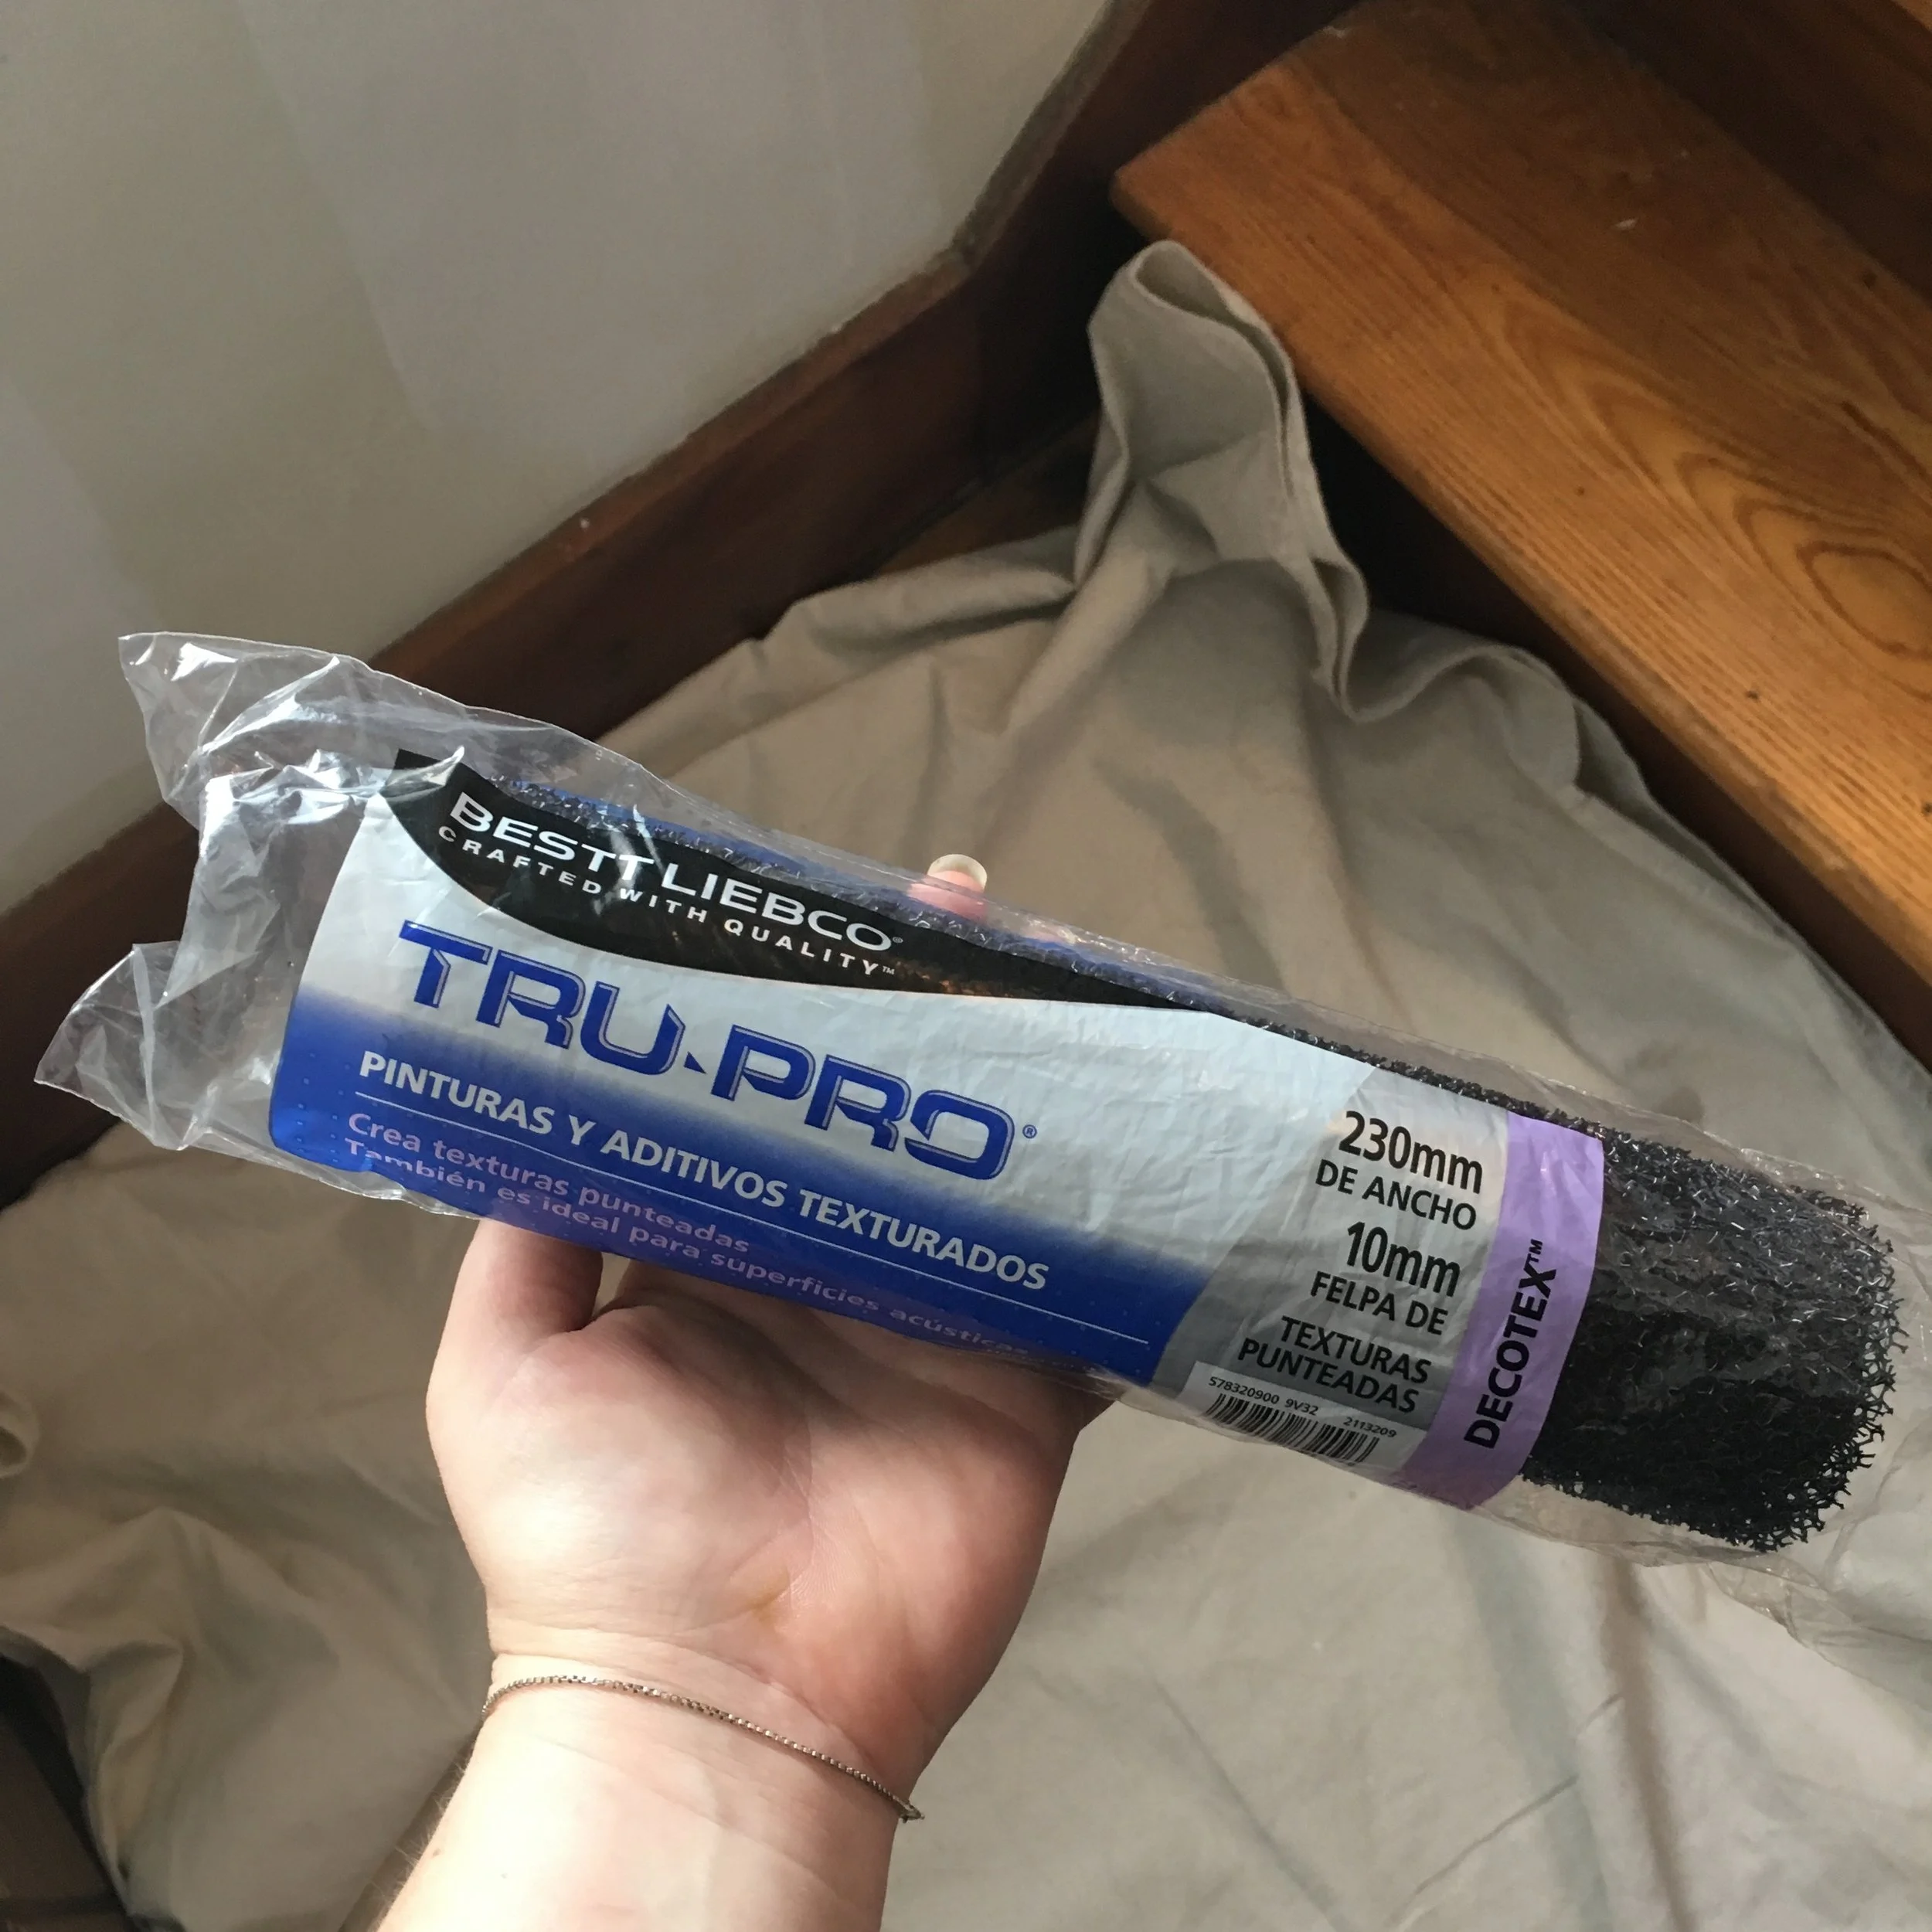
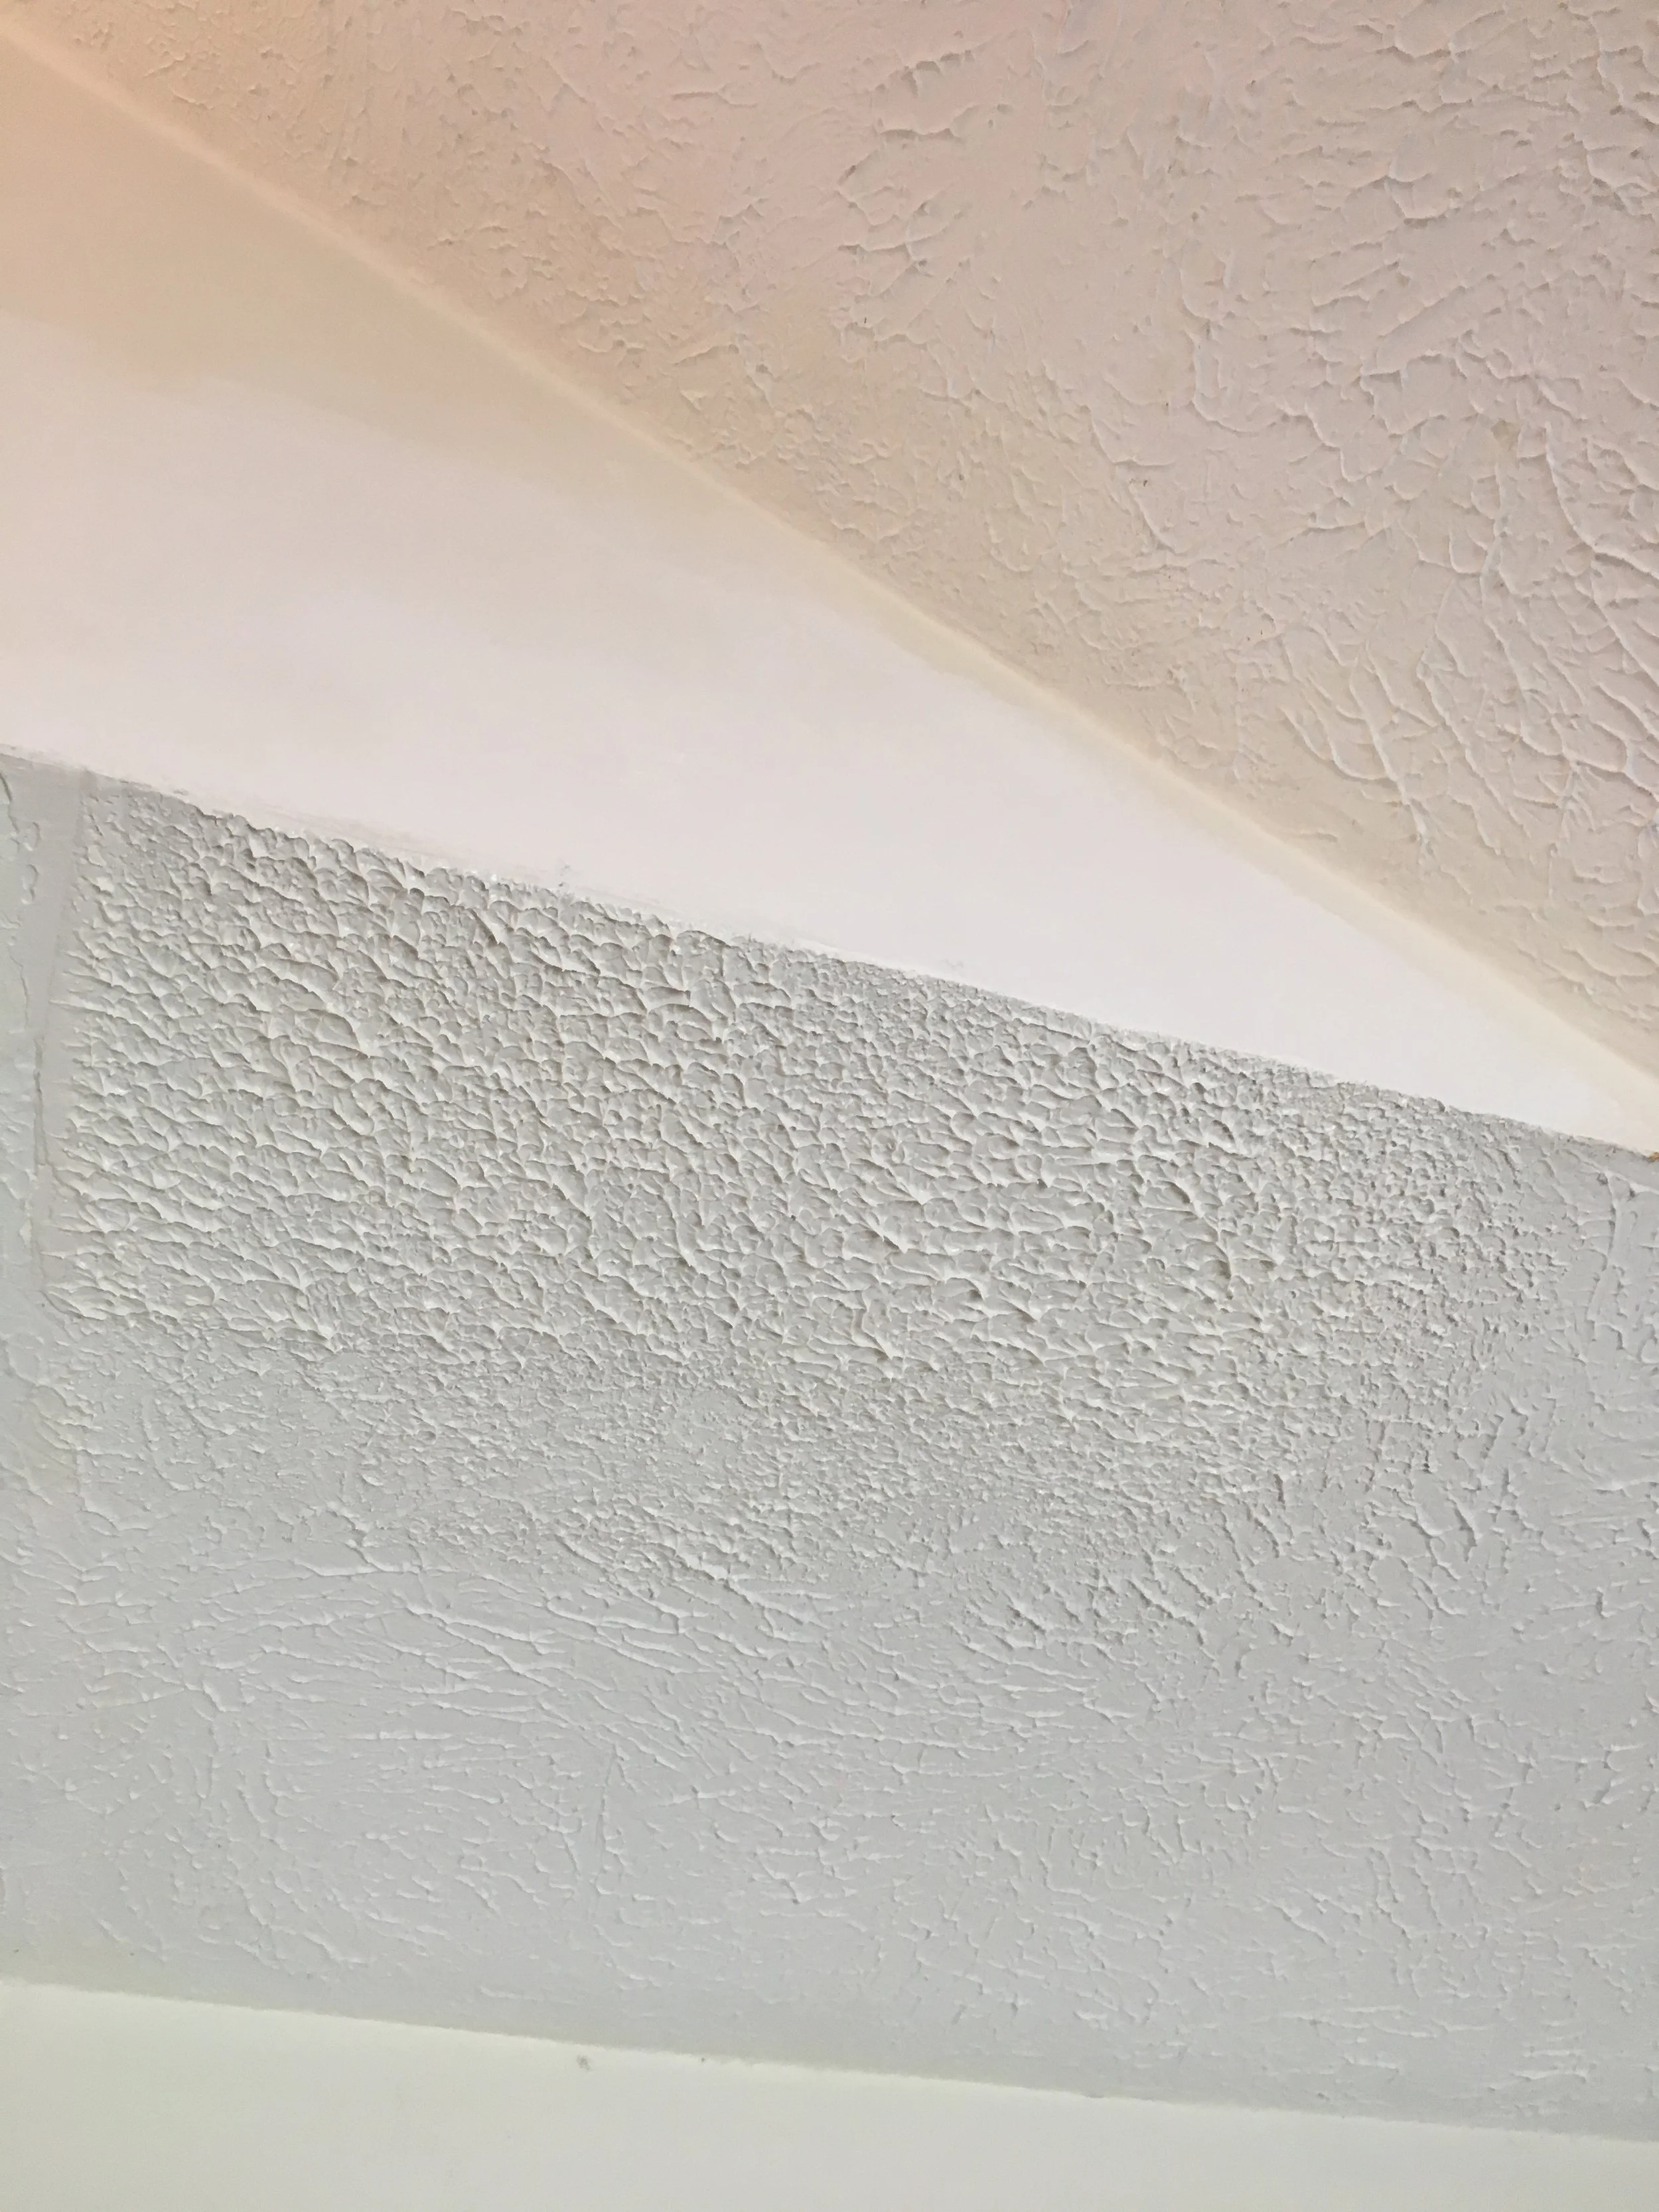
If your ceiling had any stipple to it, you will want to recreate that effect as best as you can to make the repair job blend in with the original ceiling. For this stairway, we used a stipple roller head made by Tru-pro to apply an extra layer of spackle. Watch the videos below to see how Stamp fills the roller head and how he applies it to the ceiling. We suggest covering your paint tray with aluminum foil to allow for easy clean up.
Step Five
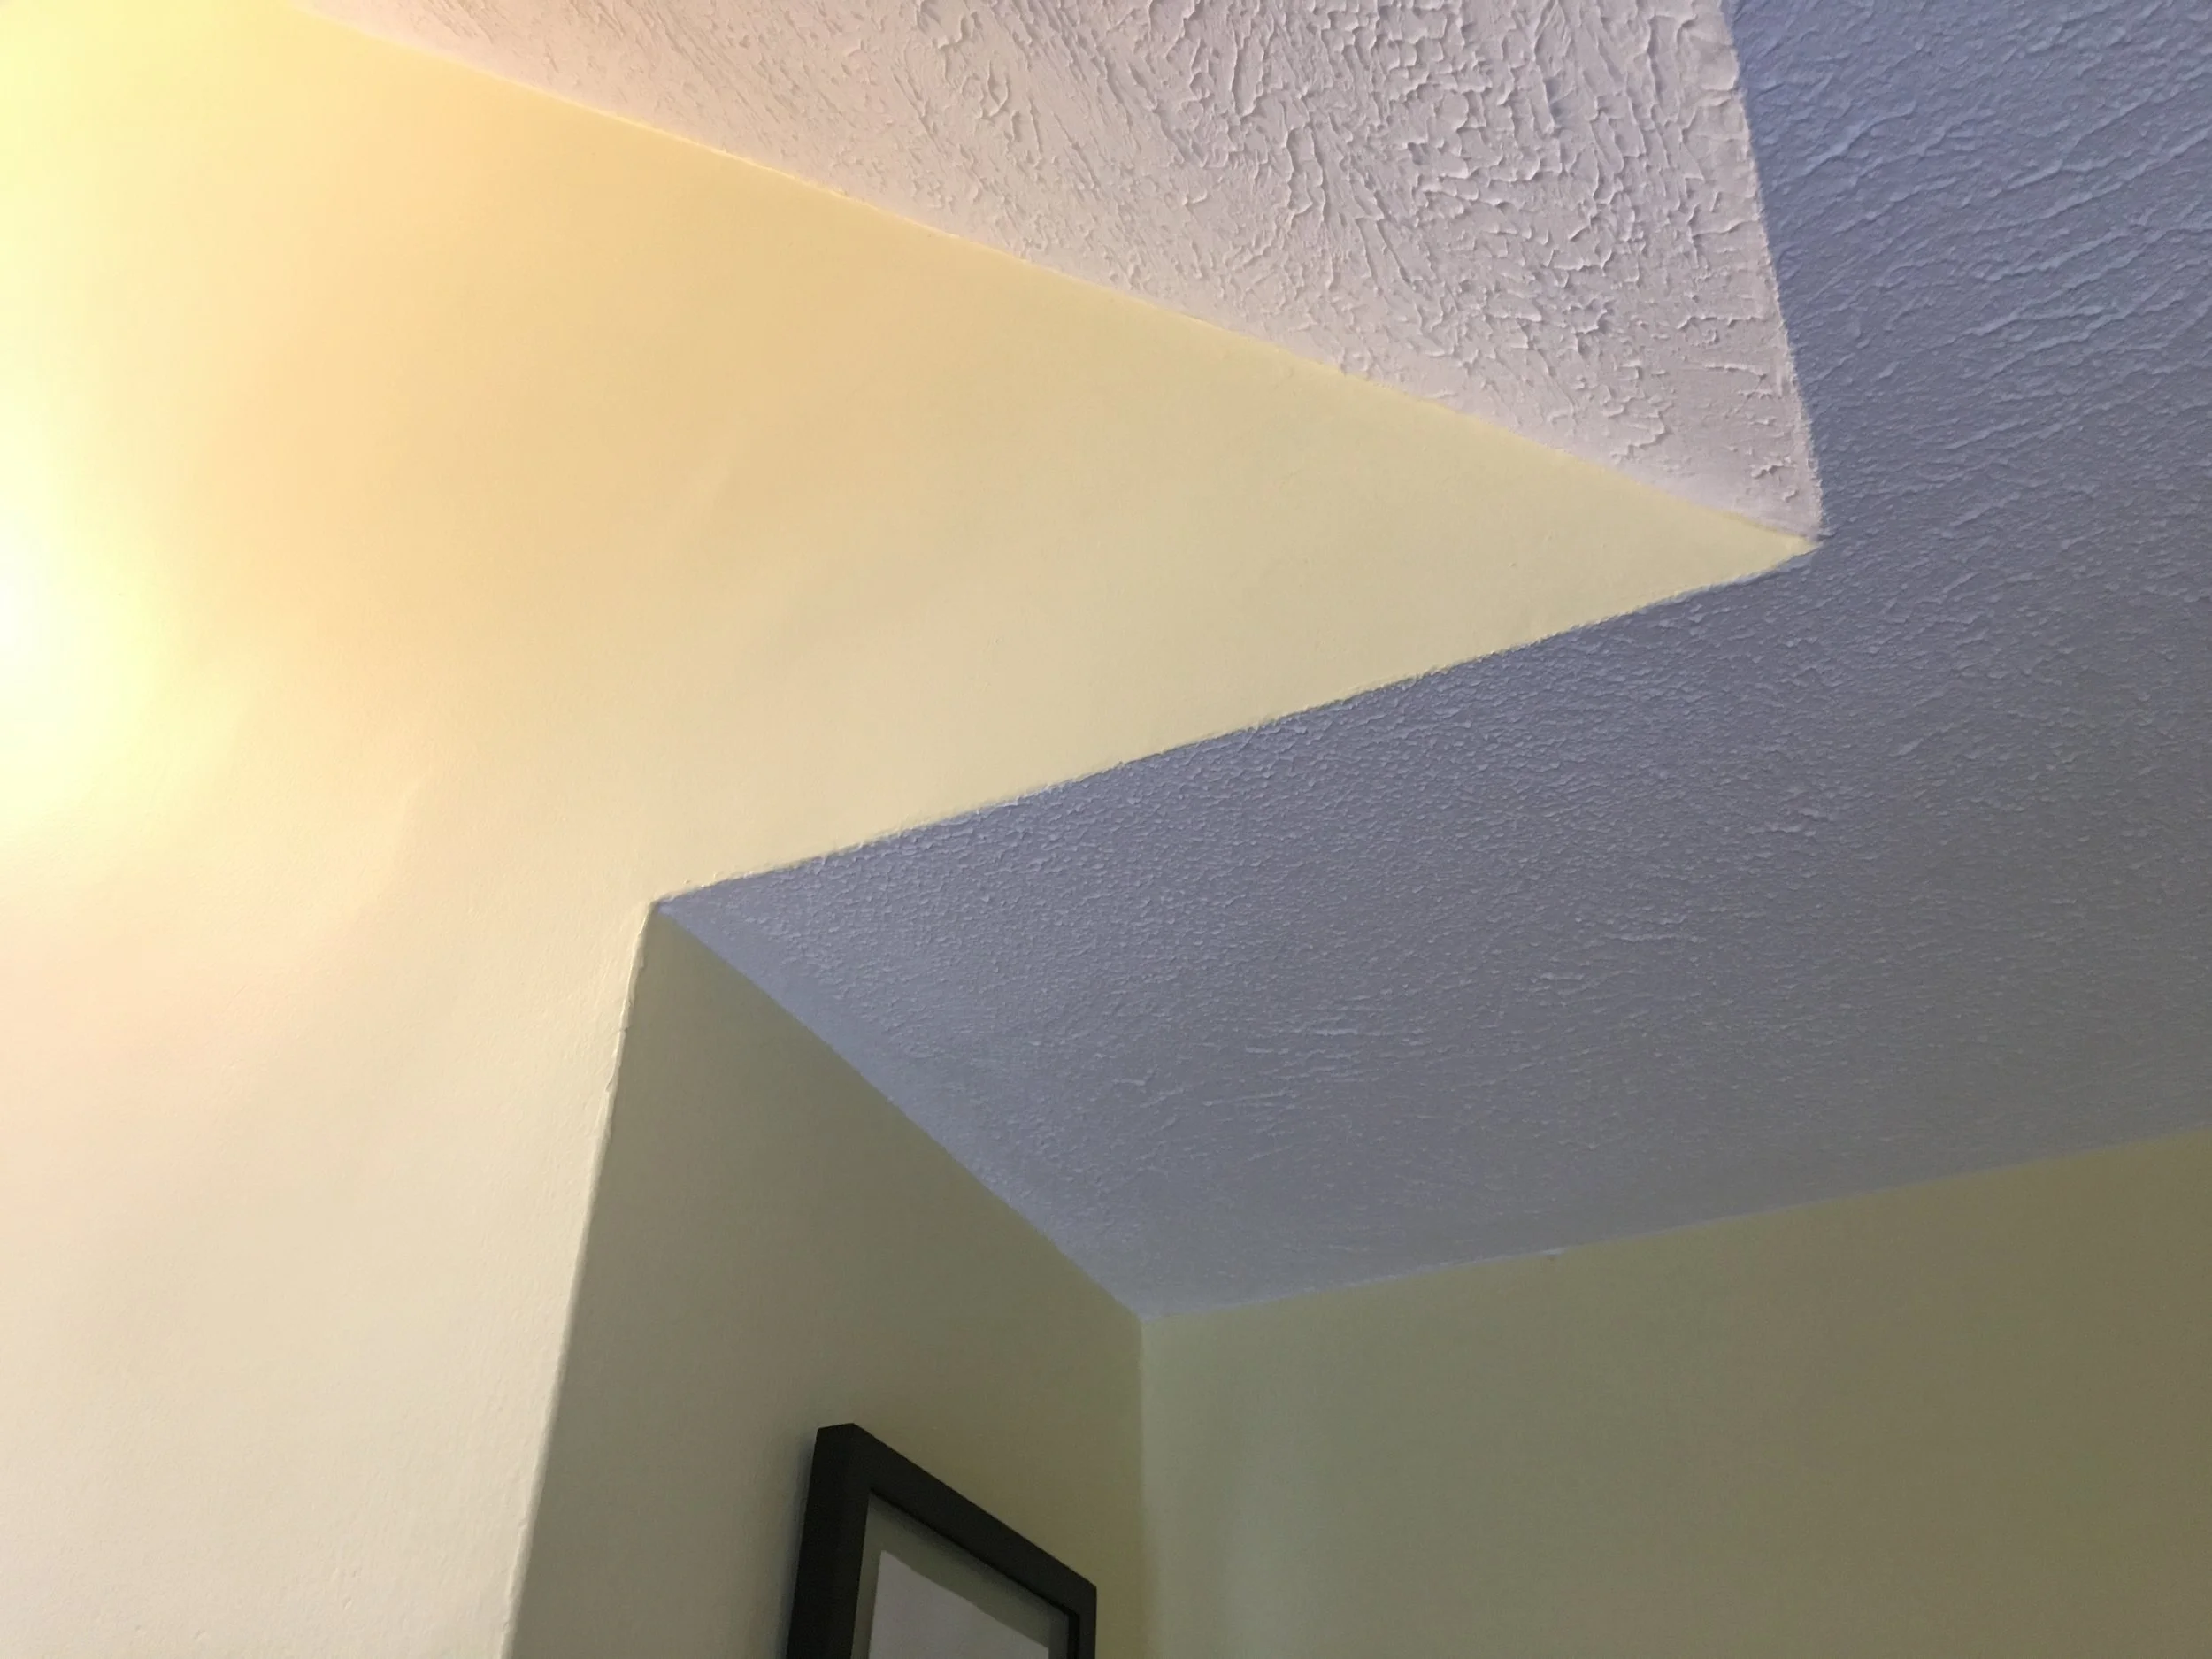
After the layer of spackle you applied with the roller head is dry, you are ready to prime. You will want to prime anywhere that you applied spackle. We recommend using Smart Prime by Zinsser because it will seal in any previous staining. For paint, you will apply two coats of your favorite product. We suggest Benjamin Moore Waterborne for ceilings and Regal Select for your walls.
Enjoy
and remember to execute caution carrying a bed or other large furniture up your stairs (or just keep Stamp Paints on speed dial: 585.364.1662)!